Can You Make Focaccia Without a Stand Mixer?
What To Know
- Place the kneaded dough in a lightly oiled bowl, cover it with plastic wrap, and let it rise in a warm place for 1 hour, or until doubled in size.
- Remove the focaccia from the oven and let it cool on a wire rack before slicing and serving.
- With a little patience and love, you can create a delicious and visually stunning flatbread that will impress your family and friends.
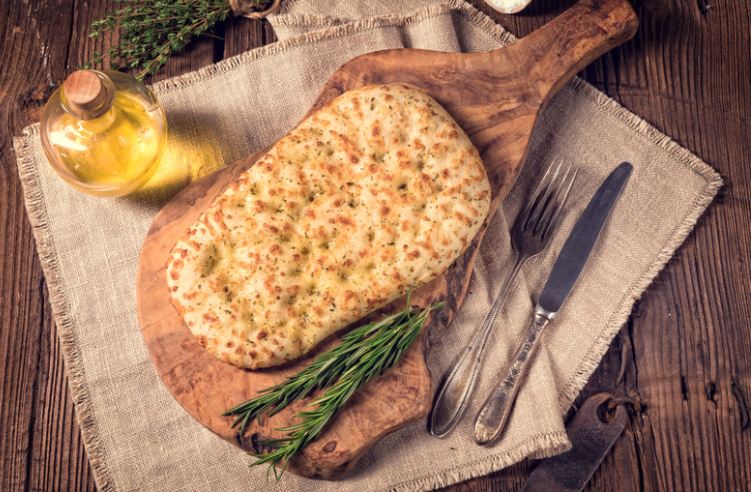
The tantalizing aroma of freshly baked focaccia, with its golden-brown crust and irresistible crumb, is enough to make anyone’s mouth water. Traditionally, this Italian flatbread is crafted using a stand mixer, but what if you don’t have one? Can you still experience the joy of homemade focaccia without this kitchen appliance? The answer is a resounding yes!
Ingredients: Gathering the Essentials
Before embarking on this culinary adventure, let’s gather the necessary ingredients:
- 3 cups (360g) all-purpose flour
- 1 teaspoon (5g) active dry yeast
- 1 teaspoon (5g) fine sea salt
- 1 1/2 cups (360ml) warm water
- 1 tablespoon (15ml) olive oil
Step-by-Step Guide: Kneading with Love
Now, let’s dive into the heart of the process:
1. Activate the Yeast: Dissolve the yeast in warm water and let it proof for 5-10 minutes, until foamy.
2. Combine the Ingredients: In a large bowl, whisk together the flour and salt. Gradually add the foamy yeast mixture while stirring.
3. Knead by Hand: Turn the dough out onto a lightly floured surface and begin kneading for 5-7 minutes. It will be sticky at first, but it will gradually become smoother and more elastic.
4. Rest and Rise: Place the kneaded dough in a lightly oiled bowl, cover it with plastic wrap, and let it rise in a warm place for 1 hour, or until doubled in size.
Forming the Focaccia: Shaping with Care
Once the dough has risen, it’s time to shape it into a beautiful focaccia:
1. Stretch and Fold: Gently stretch the dough into a rectangular shape. Fold the top and bottom edges towards the center, then fold the sides in. Repeat this process a few times to develop strength in the dough.
2. Transfer to a Baking Sheet: Line a baking sheet with parchment paper and carefully transfer the stretched dough onto it.
3. Dimple the Surface: Using your fingertips, gently dimple the surface of the dough to create a characteristic focaccia texture.
Adding the Finishing Touches: Olive Oil and Salt
Now, let’s enhance the flavor and appearance of our focaccia:
1. Generous Olive Oil Drizzle: Drizzle 1 tablespoon of olive oil evenly over the dough, ensuring it gets into the dimples.
2. Sprinkle with Salt: Sprinkle a generous amount of fine sea salt over the dough, being careful not to oversalt.
Baking to Perfection: Achieving a Golden Crust
1. Preheat Your Oven: Preheat your oven to 450°F (230°C).
2. Bake Until Golden Brown: Bake the focaccia for 20-25 minutes, or until the crust is golden brown and the bottom sounds hollow when tapped.
3. Let It Cool: Remove the focaccia from the oven and let it cool on a wire rack before slicing and serving.
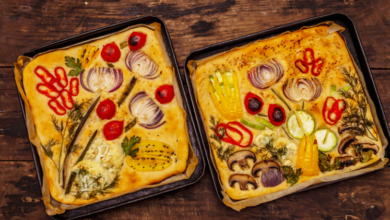
Variations: Exploring Different Flavors
Don’t be afraid to experiment with different flavors to create unique focaccia variations:
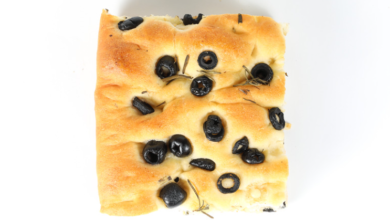
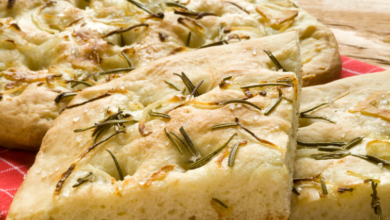
- Rosemary and Garlic: Sprinkle chopped rosemary and minced garlic over the dough before baking.
- Sun-Dried Tomato and Basil: Add chopped sun-dried tomatoes and fresh basil leaves to the dough.
- Cheese and Herbs: Top the focaccia with shredded cheese and a blend of your favorite herbs.
Tips for Success: Mastering the Craft
- Use High-Quality Flour: The quality of the flour will greatly impact the flavor and texture of your focaccia.
- Don’t Over-Knead: Over-kneading can result in a tough focaccia. Knead just until the dough becomes smooth and elastic.
- Let It Rise Properly: Allowing the dough to rise twice will develop the flavor and create a light and airy texture.
- Don’t Be Afraid of the Dimples: The dimples not only add visual appeal but also allow the focaccia to bake evenly.
- Experiment with Different Toppings: Don’t limit yourself to traditional toppings. Get creative and try new flavors and combinations.
Summary: Homemade Focaccia, Made with Love
Making focaccia without a stand mixer is not only possible but also a rewarding experience. With a little patience and love, you can create a delicious and visually stunning flatbread that will impress your family and friends. So, gather your ingredients, free up some time, and embark on this culinary adventure.
Frequently Asked Questions
Q: Can I use instant yeast instead of active dry yeast?
A: Yes, you can use instant yeast. Reduce the amount to 3/4 teaspoon (3g) and mix it directly into the flour.
Q: Can I bake the focaccia in a cast-iron skillet?
A: Yes, you can bake the focaccia in a preheated cast-iron skillet. Adjust the baking time accordingly, as the skillet will retain heat more efficiently.
Q: Can I store the focaccia for later?
A: Yes, you can store the focaccia in an airtight container at room temperature for up to 3 days. Reheat it in a preheated oven before serving to restore its freshness.