Make ciabatta bread without a mixer? It’s possible!
What To Know
- Then, place the dough in a greased bowl, cover with a damp towel, and let it rise in a warm place for 1-2 hours.
- You can also remove the dough from the bowl when it is slightly undermixed and then knead it for a couple of minutes by hand to knock out the air and speed up the fermentation process.
- The best way to do this is to flour your work surface generously and then use your hands to shape the dough into a rough rectangle.
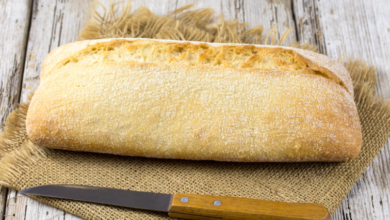
Bread is something that we all eat regularly, yet most of us didn’t learn how to bake it properly until later in life. There are so many different kinds of bread in the world, but ciabatta is one of the most popular. If you’ve never made ciabatta bread before, you’re in for a treat. I’m going to show you how to make ciabatta bread without a mixer.
Can you make ciabatta without a mixer?
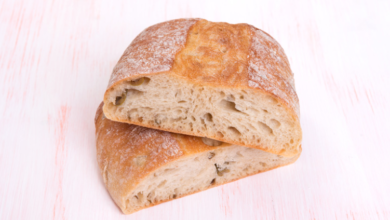
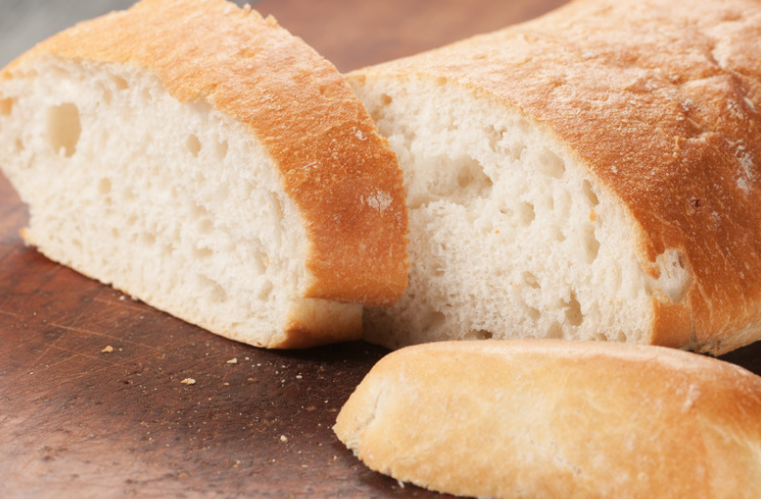
Yes, you can make ciabatta without a mixer. The dough is relatively easy to mix by hand, and the end result is a rustic, chewy loaf of bread.
To mix the dough by hand, simply combine the flour, salt, and yeast in a large bowl. Then, add the water and stir until the ingredients are fully combined. The dough will be sticky and wet, but that’s normal.
Once the dough is mixed, turn it out onto a floured surface and knead it for 10 minutes. Then, place the dough in a greased bowl, cover with a damp towel, and let it rise in a warm place for 1-2 hours.
After the dough has doubled in size, shape it into a ball and place on a greased baking sheet. Cover with a damp towel and let rise for another 30 minutes.
How to prevent the ciabatta dough from sticking to my fingers?
There are a few things you can do to prevent ciabatta dough from sticking to your fingers.
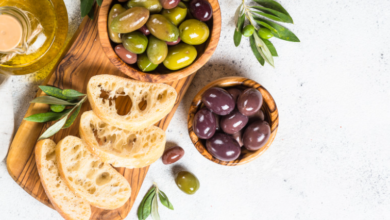
One is to dust your hands with a little flour before you handle the dough. This can help to combat sticking, although it’s often not necessary. Another way to avoid sticky dough is to dust or spray a wooden board with flour or extra virgin olive oil before kneading. The oil will coat the board and help you work the dough easily without sticking.
You can also remove the dough from the bowl when it is slightly undermixed and then knead it for a couple of minutes by hand to knock out the air and speed up the fermentation process.
What temperature should I bake the ciabatta at?
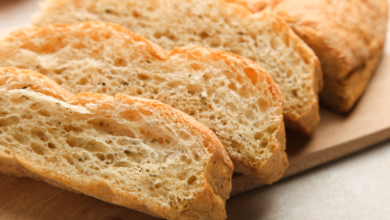
The most accurate answer to that question is: it depends on the look you’re trying to achieve. There’s no “perfect” temperature that applies to all ciabattas. In general, most ciabatta loaves cook up best in the 350–375°F range. The crust will turn golden without becoming too dark, and the crumbs will be chewy and moist.
If you want a classic, chewy ciabatta that’s light in color, you would probably want to bake the loaf at 375 °F. If you want a chewier, denser crust that’s lightly browned, raise the temperature to 400 °F.To cook a ciabatta that’s soft and moist, you would probably want to try baking at 350 °F.
How to make your own ciabatta without a mixer?
If you’re anything like us, you love a good ciabatta. But if you don’t have a mixer, making your own ciabatta can seem like a daunting task. Never fear! We’ve got a few tips and tricks to help you make the perfect ciabatta without a mixer.
First, it’s important to know that you don’t need a mixer to make great ciabatta. In fact, many traditional recipes don’t call for a mixer at all. The key to success is in the dough itself. A good ciabatta dough is wet and sticky, so don’t be afraid to add a little extra water if needed.
Once your dough is the right consistency, the next step is to let it rise. This is where a little patience comes in handy. Ciabatta dough needs time to develop the gluten that will give it that signature chewy texture. Depending on the temperature of your kitchen, this could take anywhere from two to four hours.
Once your dough has doubled in size, it’s time to shape it into a loaf. The best way to do this is to flour your work surface generously and then use your hands to shape the dough into a rough rectangle. Once you’ve got your rectangle, transfer it to a baking sheet and let it rest for another 30 minutes.
Just before baking, brush the top of your ciabatta with olive oil and sprinkle with some coarse salt. This will give the bread a nice crust.
Bake your ciabatta in a preheated oven at 375 degrees F for 30–40 minutes, until the bread is golden brown and sounds hollow when tapped.
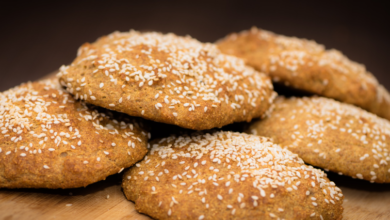
What other options are there to make freekeh without a mixer?
There are many ways to make freekeh without a mixer. One way is to simply mix the ingredients by hand. Another way is to use a food processor or blender.
One way to make freekeh without a mixer is to simply mix the ingredients by hand. This method is quick and easy and does not require any special equipment. Simply combine the wheat kernels, water, and salt in a bowl and stir until everything is evenly mixed.
Another way to make freekeh without a mixer is to use a food processor or blender. This method requires a little more effort but yields a smoother freekeh. Simply combine the wheat kernels, water, and salt in the food processor or blender and blend until everything is smooth.
Summing up
In general, ciabatta can be made without using a mixer. However, if you would like to use a mixer, you certainly can. A mixer can be helpful when you want to make the dough, especially if you are a beginner baker. On the other hand, it may not be necessary, especially if you are an experienced baker and know all of the necessary techniques.